Medlar - how to grow at home
Content:
Medlar is an exotic plant that can be grown at home. Providing the tree with the necessary conditions, the exotic lover will be able not only to admire the beautiful leaves, but also taste delicious, healthy fruits. The following is information on what a medlar is, how to grow it from a bone at home, what conditions it needs, and also how to care for a tree after planting.
Medlar - what is this plant
In nature, there are about 30 species of medlar. Only Japanese medlar can grow at home. Grown in a heated conservatory, it can even bear fruit.
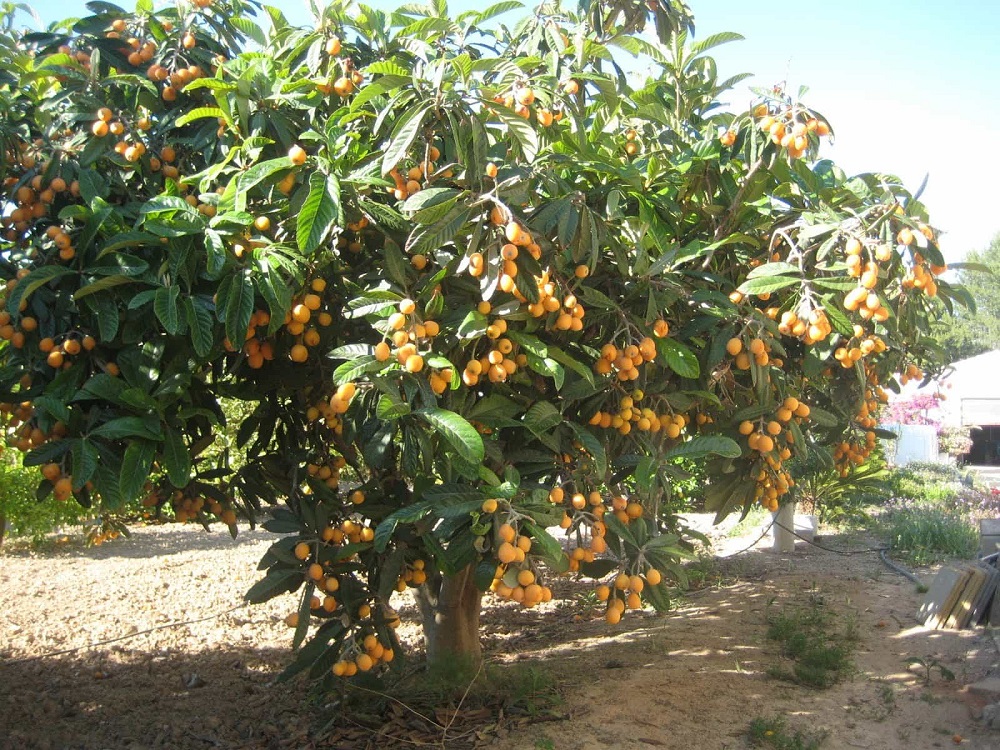
Medlar grows beautifully in a garden in the south, but in the north it will be able to take root in an apartment.
Description
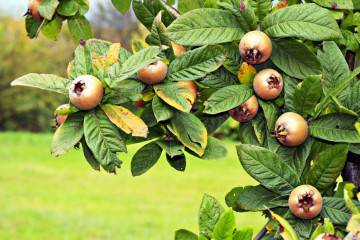
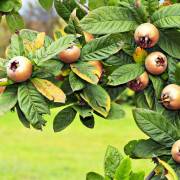
Under natural conditions, the medlar reaches a height of 8 m. It has leathery leaves with a glossy surface. The flowers are self-pollinated, from which orange fruits are subsequently formed. During flowering, the plant emits a bitter almond aroma.
How to grow at home
Medlar can be grown in several ways. Most often, gardeners use bone reproduction. Another method of breeding medlar is by layering. Apical and lateral cuttings take root well.
Growing medlar from a bone at home
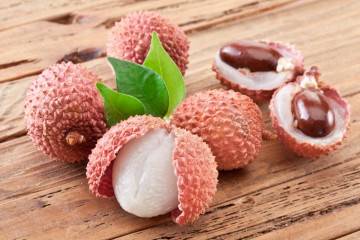
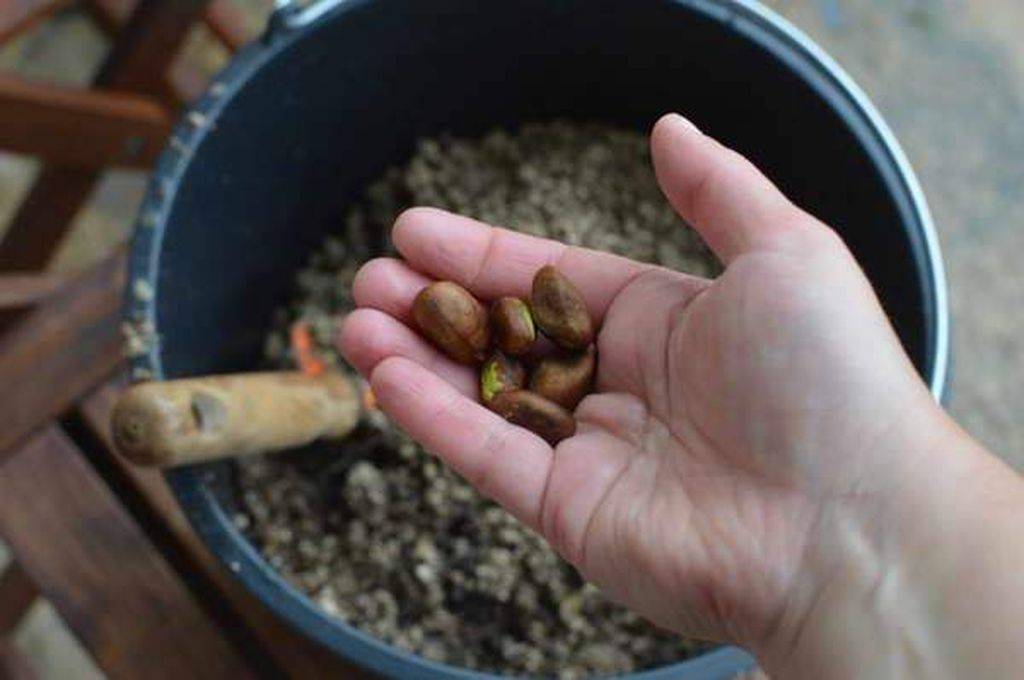
A very ripe fruit is chosen for planting, otherwise the bone will not be able to hatch due to an immature embryo. Before planting a medlar, you need to carry out preparatory work.

A very ripe fruit is chosen for planting seeds.
Which variety is better to choose
Florists recommend growing the following varieties of medlar at home:
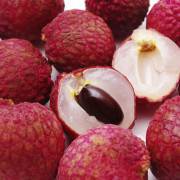
- Morozko. The color of the fruits is red-brown, the pulp is devoid of astringency;
- Premier. The fruit is very juicy with a slight sourness. Their color is cream;
- Champagne. The variety has large yellow fruits. They are slightly pubescent with tender pulp inside;
- Sayles. Large orange fruits appear on the tree, associated with apricot in taste and color;
- Tanaka. The taste of large fruits is sweet and sour, delicate.
Choosing a place for a future plant
For a houseplant, you need a window sill well-lit by the sun's rays, located on the south, south-west or south-east side. Only young shoots are afraid of bright light, so the box with shoots is shaded for the first time. In the summer, the medlar can be transported to the dacha.
In what soil does it grow well
For good germination, the seed must be planted in air and permeable soil. For this, the substrate is mixed from the following components:
- sod land;
- leafy land;
- compost;
- sand.
Preparation of the bone
A bone is removed from the fruit, cleaned of the pulp. Then it is thoroughly washed, left for 3 days to dry. Since the bone has a hard shell, it needs to be helped to germinate; for this, the scarification method is used. It consists in wiping the drupe with sandpaper or a file. As a result, the dense shell softens, the seeds hatch faster. After scarification, the bone is placed in warm water for a day: if it remains at the bottom, then it can be planted.
What capacity is needed for planting
The medlar bones are large, so it is better to immediately plant them in a separate pot. But the container should not be large at once: it is better to increase it gradually, as the tree grows. Also, the seeds can be planted first in a box and, as soon as leaves appear on the shoots, transplanted into separate containers.
Conditions for seed germination
Next, you need to choose high-quality planting material and prepare an environment that corresponds to the one in which the plant grows in nature.
How to plant a bone correctly
The prepared seed can be soaked in a disinfectant solution. Then a step-by-step stage of planting seed is carried out:
- Drainage is laid out in the container.
- Light and fertile soil is poured.
- Water the substrate.
- The seed is deepened by 2-2.5 cm.
Creation of greenhouse conditions
Under the covering material, conditions are created that are necessary for the rapid and friendly germination of seeds. Every day, the film is removed to air the plantings. The covering material and the walls of the container are wiped from condensation, otherwise fungus may form on them due to the large amount of moisture. When sprouts appear, the glass or film is removed.
Propagation of medlar from seeds is a laborious, but interesting process.
Pinching a seedling
In order for the medlar to have a beautiful shape, they begin to form it already in the presence of 3 pairs of real leaves. To do this, pinch the top. After this procedure, the dormant lateral buds wake up, and the plant begins to bush.
If you want to form a medlar in the form of a tree, you need to leave one main trunk, and remove the lower lateral branches until they are lignified.
How to care for medlar after planting on the windowsill
Young plants need constant care: watering, feeding, loosening the earth. Once a year, they are transplanted into a larger pot.
Lighting and temperature
The culture develops well at an air temperature of 18-25 ° C. For the plant to feel comfortable, it should not fall below 15 ° C. The pot with medlar is placed on a brightly lit windowsill, protected from direct sunlight at noon. But in winter, the tree prefers a cool content at a temperature of about 10 ° C.
Daylight hours should be at least 12 hours. If necessary, the plant is artificially illuminated. With a short daylight hours, the medlar may not bloom.
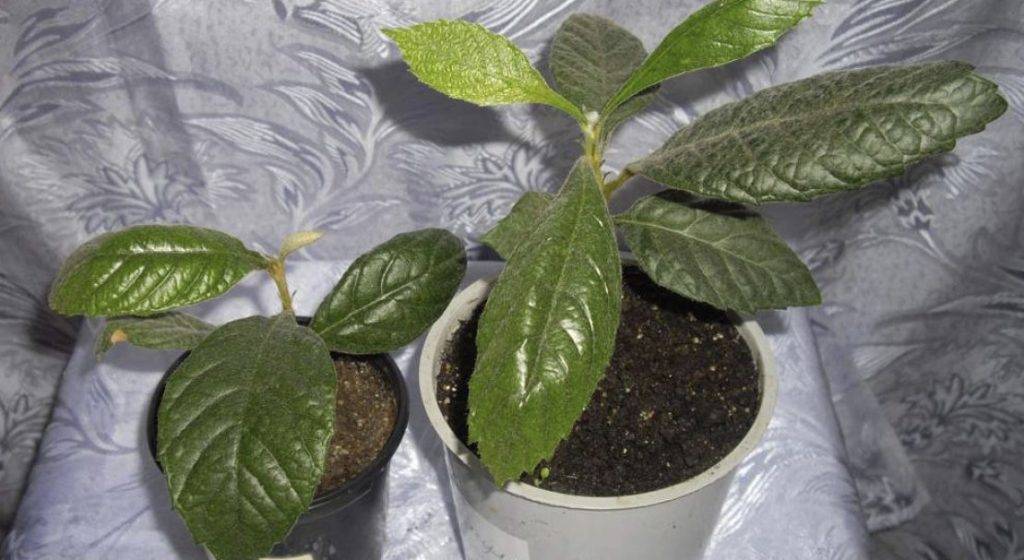
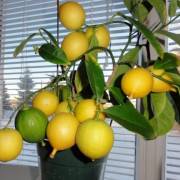
Pots with young plants are placed in a well-lit place
Watering and humidity
As soon as the topsoil begins to dry out, the exotic crop should be watered. After 15-20 minutes. after that, the excess water from the pan should be poured out. If the soil is constantly wet, harmful microorganisms can attack the root system.
In winter, watering is significantly reduced, especially if the plant is kept in a cool room. They use warm, soft water. After irrigation, the soil must be loosened, the procedure will allow air to flow to the roots. If the room is too hot, you can humidify the air around the tree.
Top dressing
From early spring to mid-autumn, the medlar is fed. For this, complex mineral fertilizers are used once a month. It is enough to feed a matured medlar at home in a pot 2-3 times during the spring-autumn season. In winter, the plant is dormant; it does not need fertilization during this period.
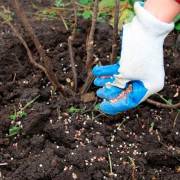
Transfer
When roots begin to protrude from the holes in the pot, this is a signal that the tree needs a transplant. The procedure is carried out in the spring. The plant, together with a lump of earth, is transferred into a larger pot.
Possible problems when growing a tree from a stone
With improper agricultural technology, the medlar can lose its decorative appearance. Diseases and pests can also cause the leaves to dry. The most common problems are as follows:
- roots rot. This is due to over-watering. To remedy the situation, the roots of the medlar are cut to healthy fragments, sprinkled with charcoal. Then it is transplanted into a new soil, after having disinfected the pot;
- leaves curl and wither. Possible reasons: keeping in a draft, abundant watering, excess nitrogen in the soil. You can restore a tree by rearranging the plant pot to a comfortable environment, reducing watering, reducing nitrogen fertilization;
- medlar grows slowly. Perhaps the soil is lacking nutrients, or the tree does not have enough light. Medlar prefers keeping in good lighting, once a month it needs to be fed with mineral fertilizers;
- aphids and spider mites appear on the plant. To eliminate the pest, the medlar is sprayed with a solution of laundry soap or insecticides.
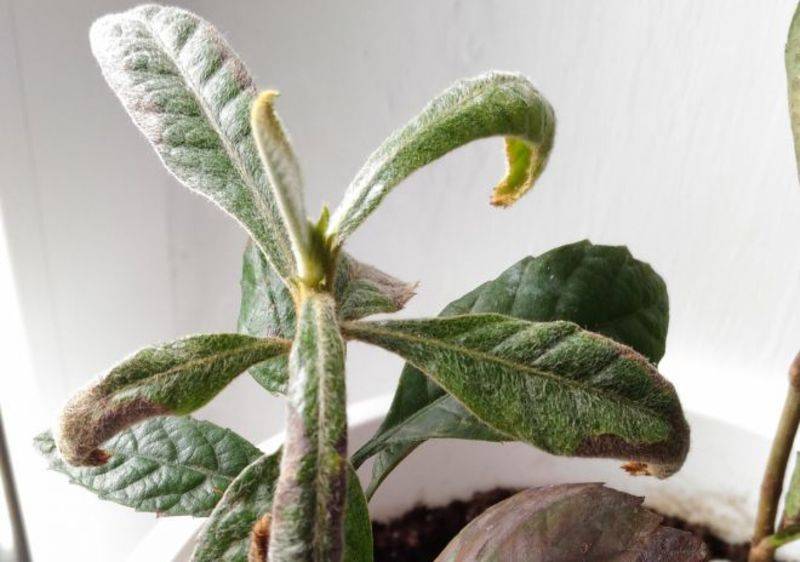
Stricken with medlar disease
The fruits of medlar contain a large number of useful elements. An exotic lover can easily grow a tree from a bone. To do this, you need to wipe it with sandpaper, plant it in a nutritious soil, provide the necessary conditions. If you study the information on how medlar grows and apply knowledge in practice, in 4-5 years you can enjoy delicious and healthy fruits.